Getting Started with Encaustic Painting on a Budget
Jul 16, 2026
I get asked this question a lot. "I want to try encaustic but isn't it really expensive to get started?"
It can be. But it doesn't have to be.
When I first started exploring encaustic, I wasn't about to spend hundreds of dollars on a proper setup before I even knew if I liked it. So I figured out a way to get going for a lot less. And honestly? It works really well.
Here's what you need to know.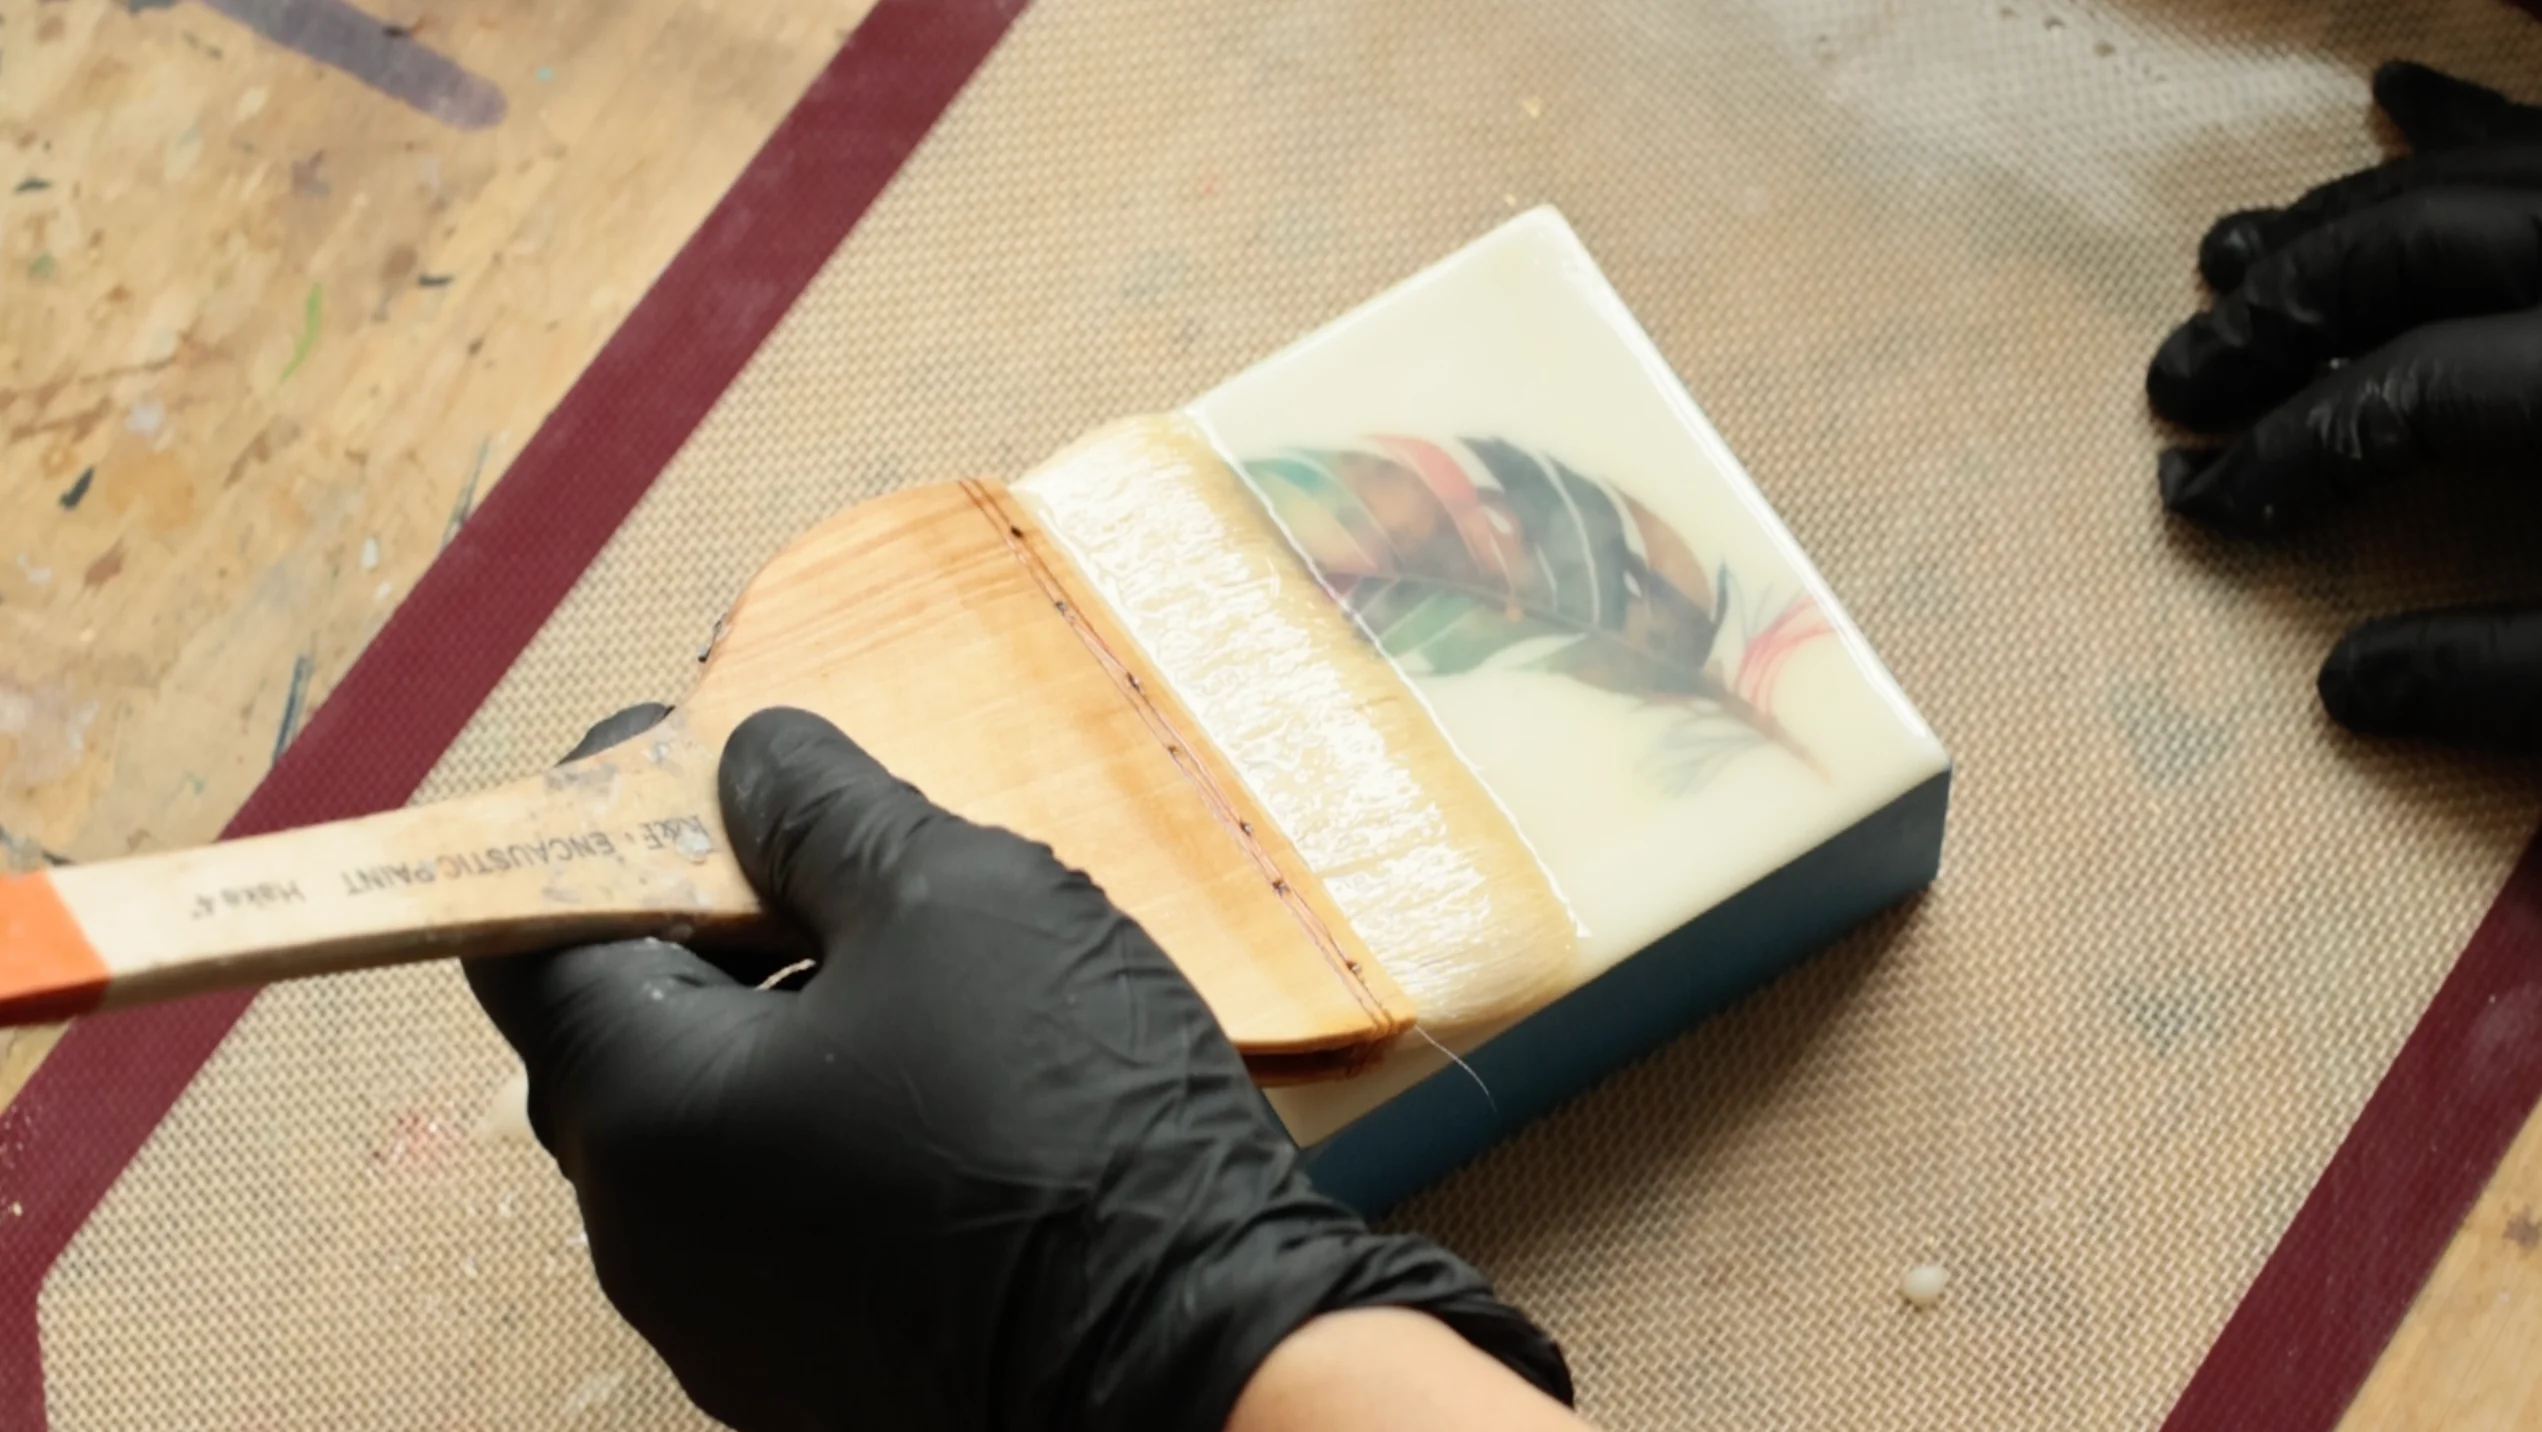
What is encaustic anyway?
Encaustic is a painting technique that uses pigmented beeswax and damar resin. You melt it, apply it to a surface, then fuse it with heat. The results are these beautiful, luminous, layered paintings with incredible depth. Once you try it, you'll be hooked.
The word "encaustic" comes from the Greek word meaning "to burn in," which gives you a hint about that fusing step. That's really the magic of it.
How to do it without breaking the bank
Start with the right wax
You have two options here.
The first is to make your own encaustic medium using purified beeswax and damar resin crystals. However, when you're starting out, it's best to purchase the pre-made medium — making your own can be messy and time-consuming and requires greater ventilation.
The second option is to buy pre-made encaustic medium from brands like R&F. It's convenient and is honestly the best choice when you're just getting started because you don't have to worry about ratios or if the quality is good.
Skip the fancy palette
There's no need to spend a lot on equipment especially when you're starting out with encaustic. An inexpensive pancake griddle is perfectly fine. Just ensure you select one with a temperature dial so you can keep your wax around the 180F degree mark.
One important tip I want to mention is the addition of a surface thermometer. While the dials on griddles work okay, they aren't always 100% accurate and over time they become worse from constant use. A surface thermometer will always display the correct reading which is important for safety.
You'll also need something to fuse your layers with. A heat gun works really well for this. I have several and one is R&F's brand of heat gun. It was very expensive and to be honest, I prefer my cheap Wagner brand, mainly because it's lighter in my hand but works just as well.
What to paint on
Encaustic wax needs a porous sturdy surface to stick to properly and to prevent it from warping and cracking. There are many options available including Ampersand's EncauticBord, which is regarded as the best surface out there for Encaustic. But it too is quite expensive.
Your next best option, and a much cheaper one, is birch panel. There are many suppliers online offering wood panels, including Amazon. The wax seeps into the pours of the grain remarkably well and it has become a favorite to use in my practice.
Some materials to avoid are flexible ones like stretched canvas or papers. However, you can always adhere your paper to the panel if you prefer. Just ensure it's porous.
Colour
The safest and most effective way to add colour to your encaustic work is with encaustic paint — the small 40ml bars are the most widely available and are a perfect starting size. You melt a very tiny piece (about pinky thumbnail size) from the bar into your wax medium to create rich, beautiful colour. So while the bars can seem expensive initially, bars can last several years. A little bit goes a long way.
Brushes and tools
Natural hair brushes are a must with encaustic. Hake brushes come in various sizes and offered by different brands. They're still quite affordable and easy to find on Amazon if you don't want to purchase from a well know brand. The natural bristles are really important since synthetic brushes will melt in your wax!
Brushes and loop tools are also great for adding texture. I suggest purchasing a pottery tool kit online because it comes with great mark making tools for encaustic. 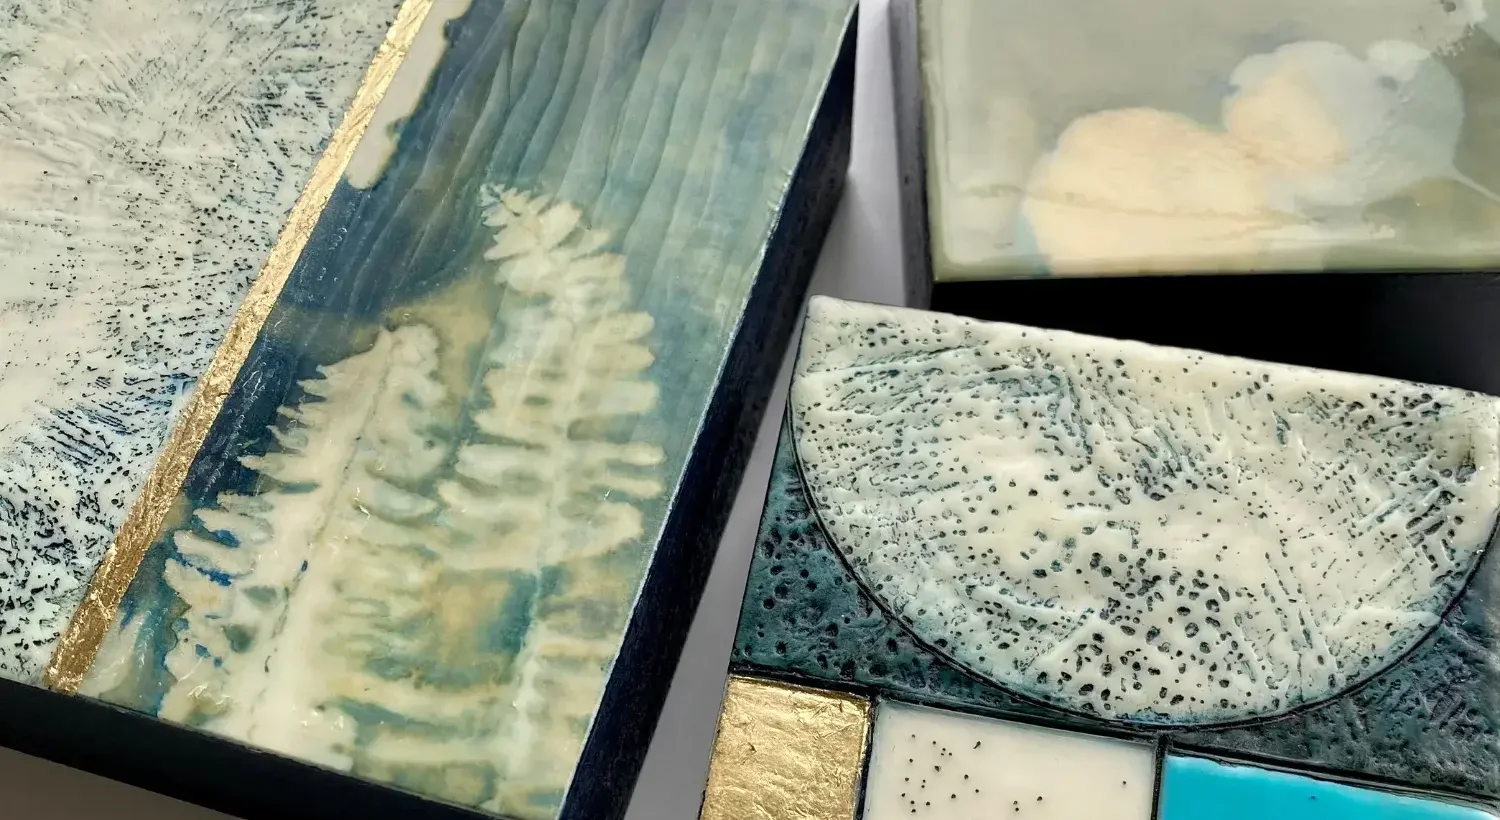
Please do this before you start
Working with heated wax is safe as long as you follow a few basic rules.
Always work in a well-ventilated space. Open a window or use a fan to keep fumes moving away from you. Keep your temperature between 180 and 200 degrees Fahrenheit. Never walk away and leave melted wax unattended. Wax can burn and smoke if allowed to get too hot. This smoke can become toxic and linger in the air. Keep within the correct working range, and you'll be fine!
Your very first painting
Once your wax is melted and your skillet is up to temperature, here's a simple way to start:
Warm your panel first by passing your heat gun over the surface — this helps the wax bond properly from that very first layer. Apply a layer of clear medium to your warmed surface and fuse it with your heat gun. Melt a small amount of encaustic paint bar into your wax medium to create a colour. Brush it onto the surface and fuse each layer before adding the next. Then just play. Layer, scrape back, build texture.
There's really no wrong way to do it. Encaustic rewards experimentation and it's so fun to see what happens.
When you're ready to invest more
Once you fall in love with it (and you will!), you can start adding to your setup over time. There are always more tools, products and materials to expand your practice and open up more possibilities with your paintings.
But none of that needs to happen on day one.
All you need to do is start.
If you have questions about getting started, drop them in the comments below. I'd love to help!
Until next time, stay creative.
xo Jane.