How I Embed Prints Into Wax
Jul 29, 2026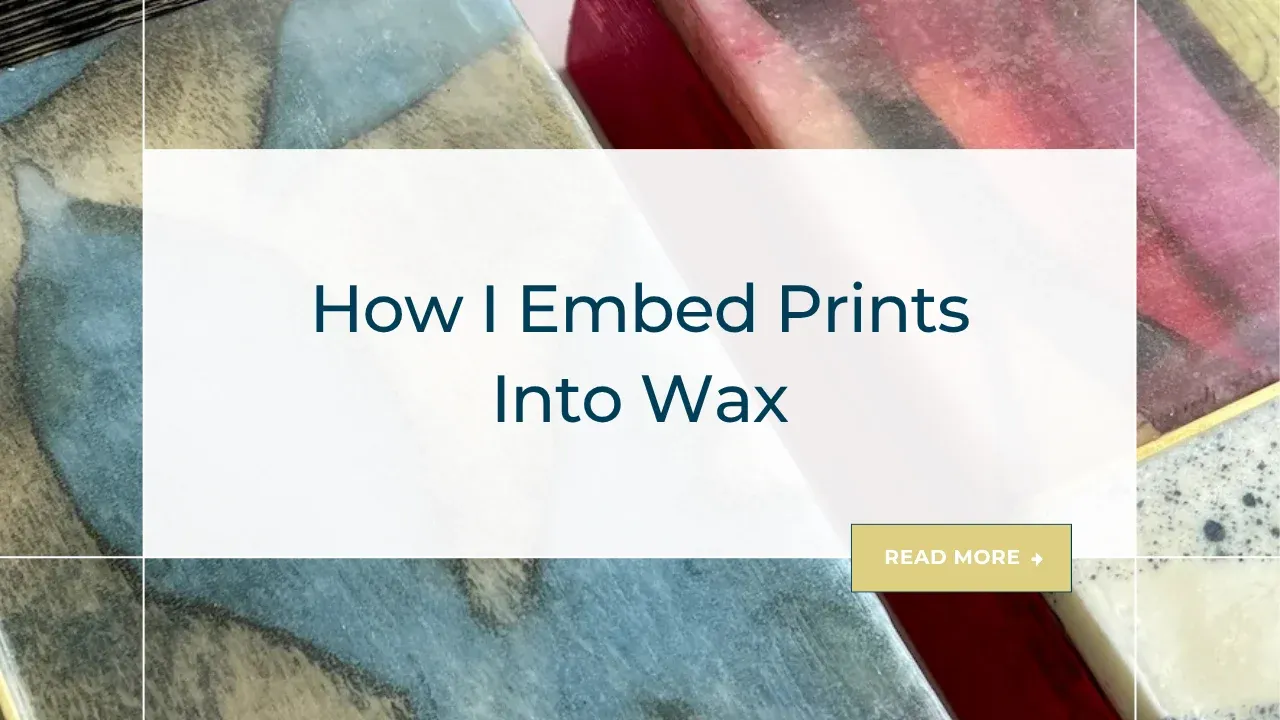
Can I tell you about my latest obsession? Because I've fully gone down a rabbit hole with this one and I'm not even a little bit sorry about it.
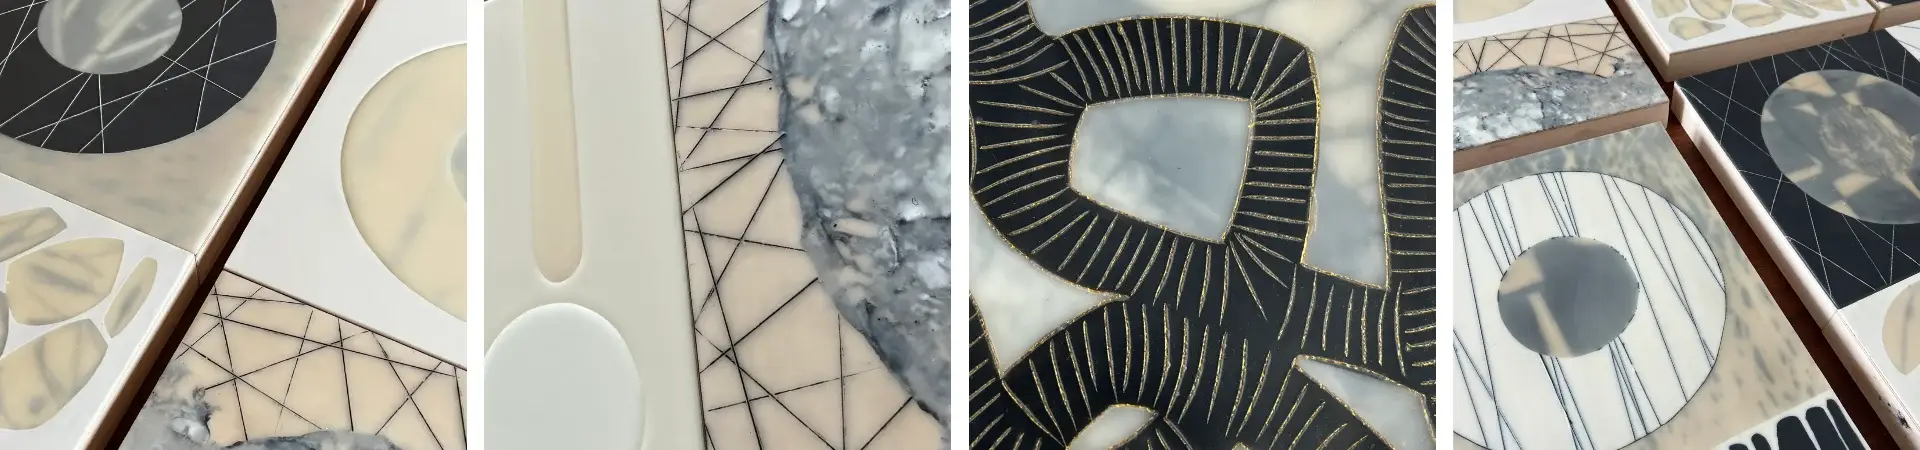
I've been taking photos of my previous artwork, printing those images onto Teabag Paper, and then embedding the prints into encaustic. The results have been these beautiful little 6"x6" mixed media pieces — part photography, part wax, part nostalgia — and people have been losing their minds over them (in a good way!).
I've been calling them Encaustic Minis and they've honestly become some of my favourite pieces I've ever made.
Why Teabag Paper works so beautifully in wax
If you're not familiar with Teabag Paper, it's an incredibly thin, delicate paper that takes on this wonderful aged, translucent quality when it's embedded in wax. When you print an image onto it and then fuse it into an encaustic surface, the wax gives the image this soft, dreamy quality like something you'd find tucked in an old book.
The thinness of the paper is the key. Thicker papers sit on top of the wax; Teabag Paper sinks in and becomes part of it. The result feels layered and integrated in a way that's hard to describe but immediately recognizable when you see it.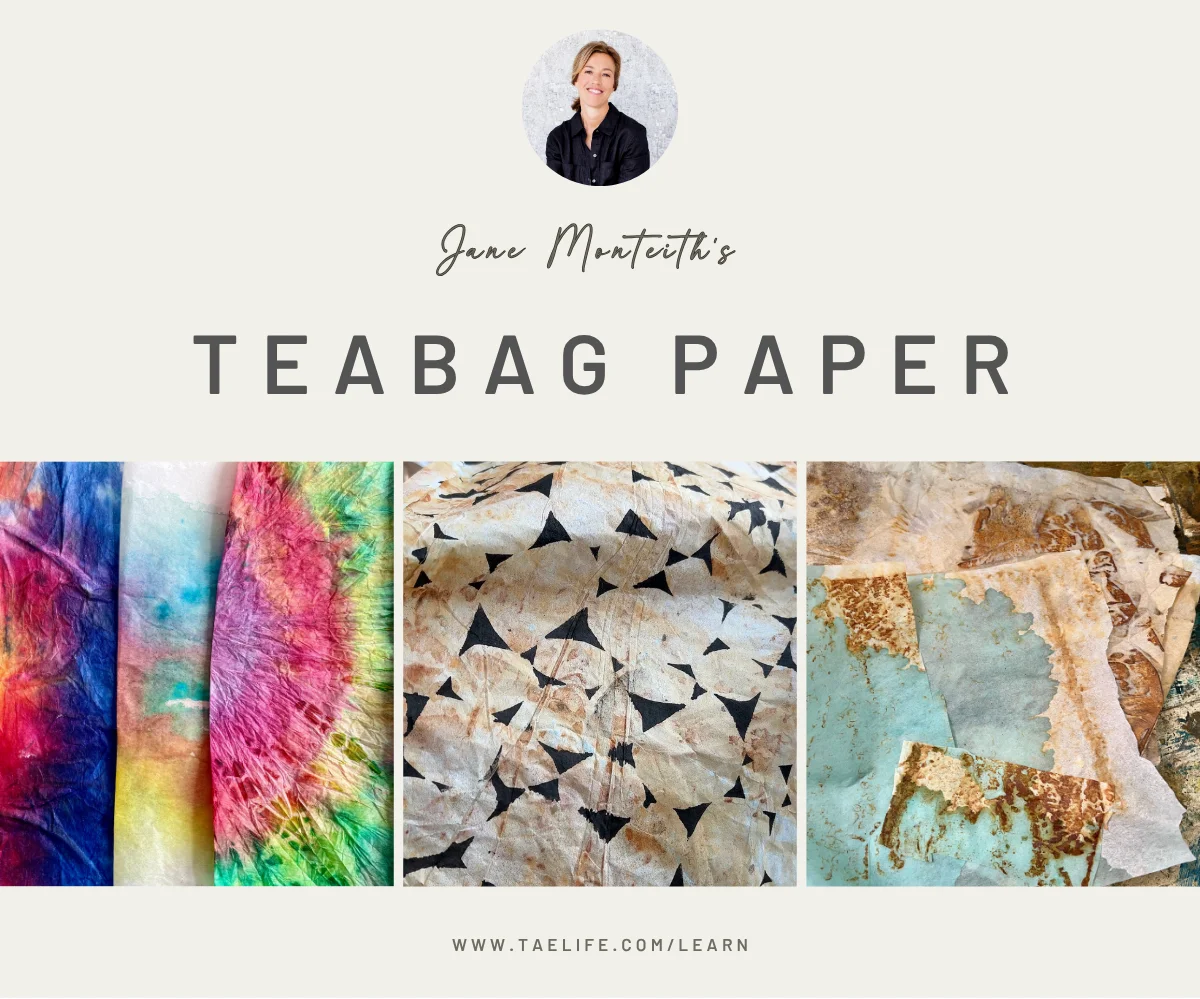
The process: simpler than it looks
Here's the basic approach I've been using:
Start with a smooth, well-fused encaustic surface. The cleaner and more even your base, the better the print will embed. Then print your image onto Teabag Paper using a laser printer or photocopier (not inkjet — it won't work). Lay the print face down onto the warmed wax surface and gently burnish it to adhere.
From there it's the same as any image transfer — wet the paper slowly, rub away the fibres patiently, and once the surface feels smooth the image is locked in. Finish with a thin coat of medium and fuse gently.
What I've been doing that's a little different is printing photos of my own past work. So there's this lovely layered conversation happening — old art living inside new art. I find that genuinely moving to look at.
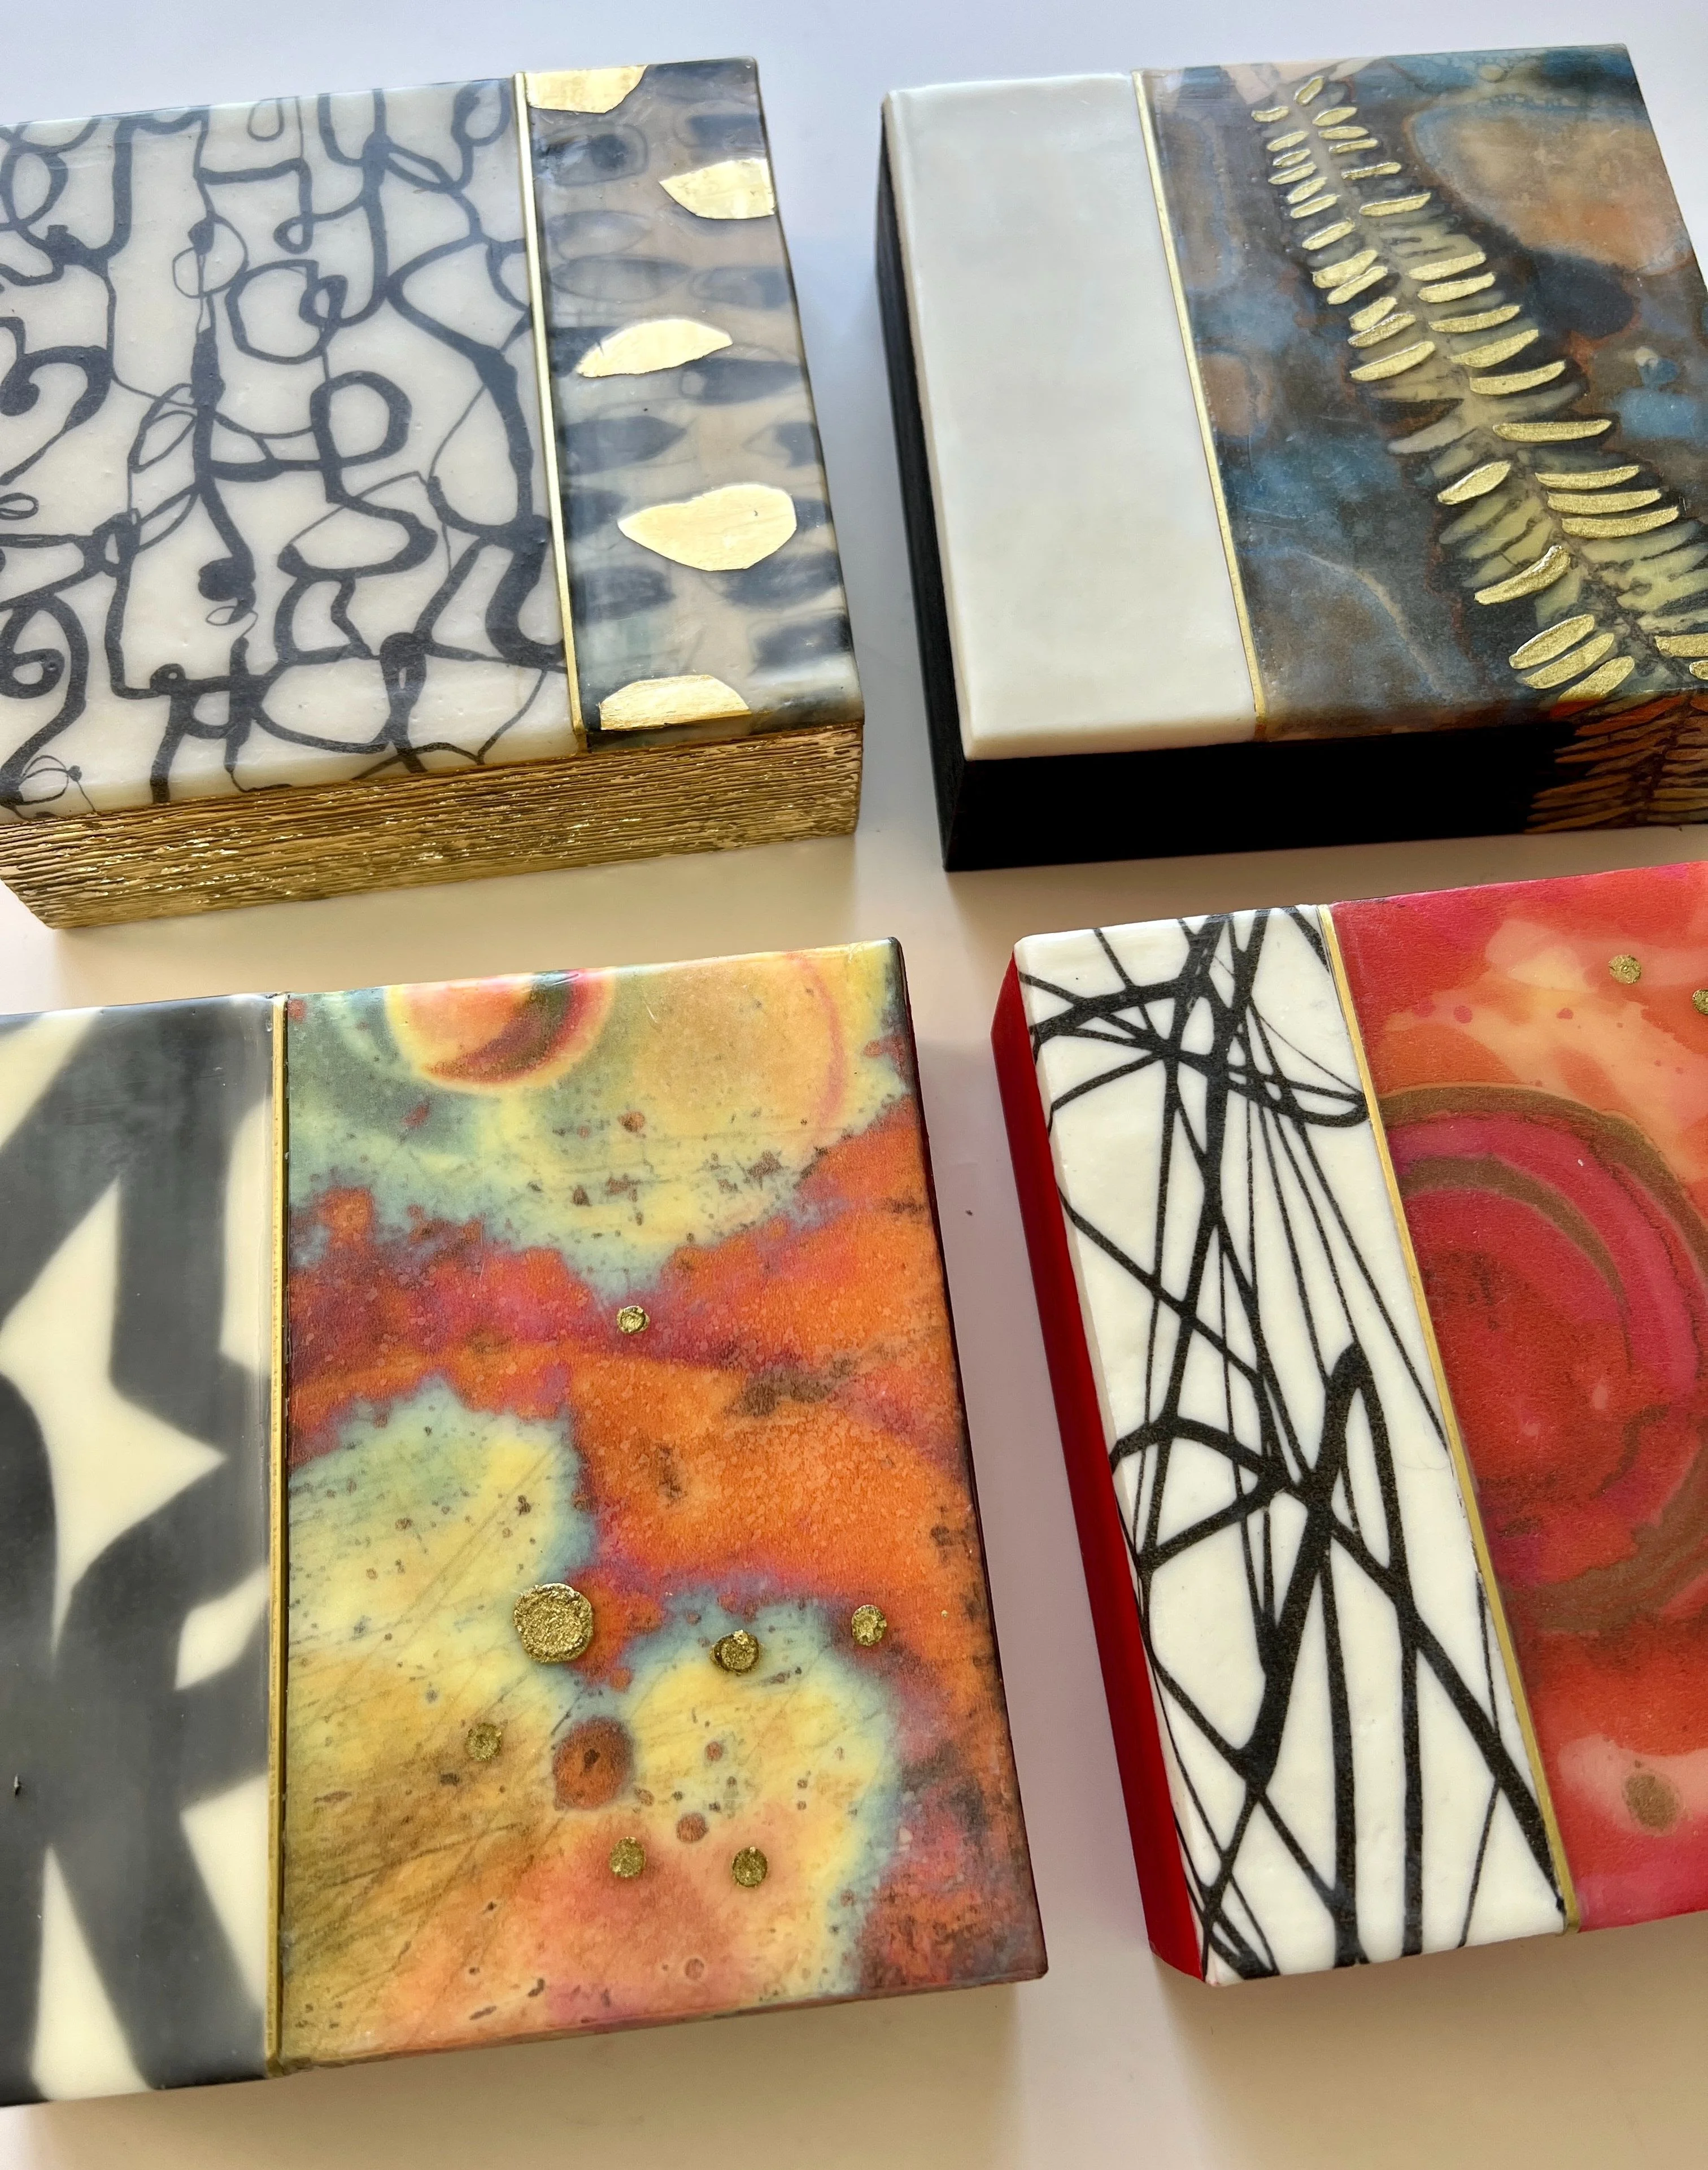
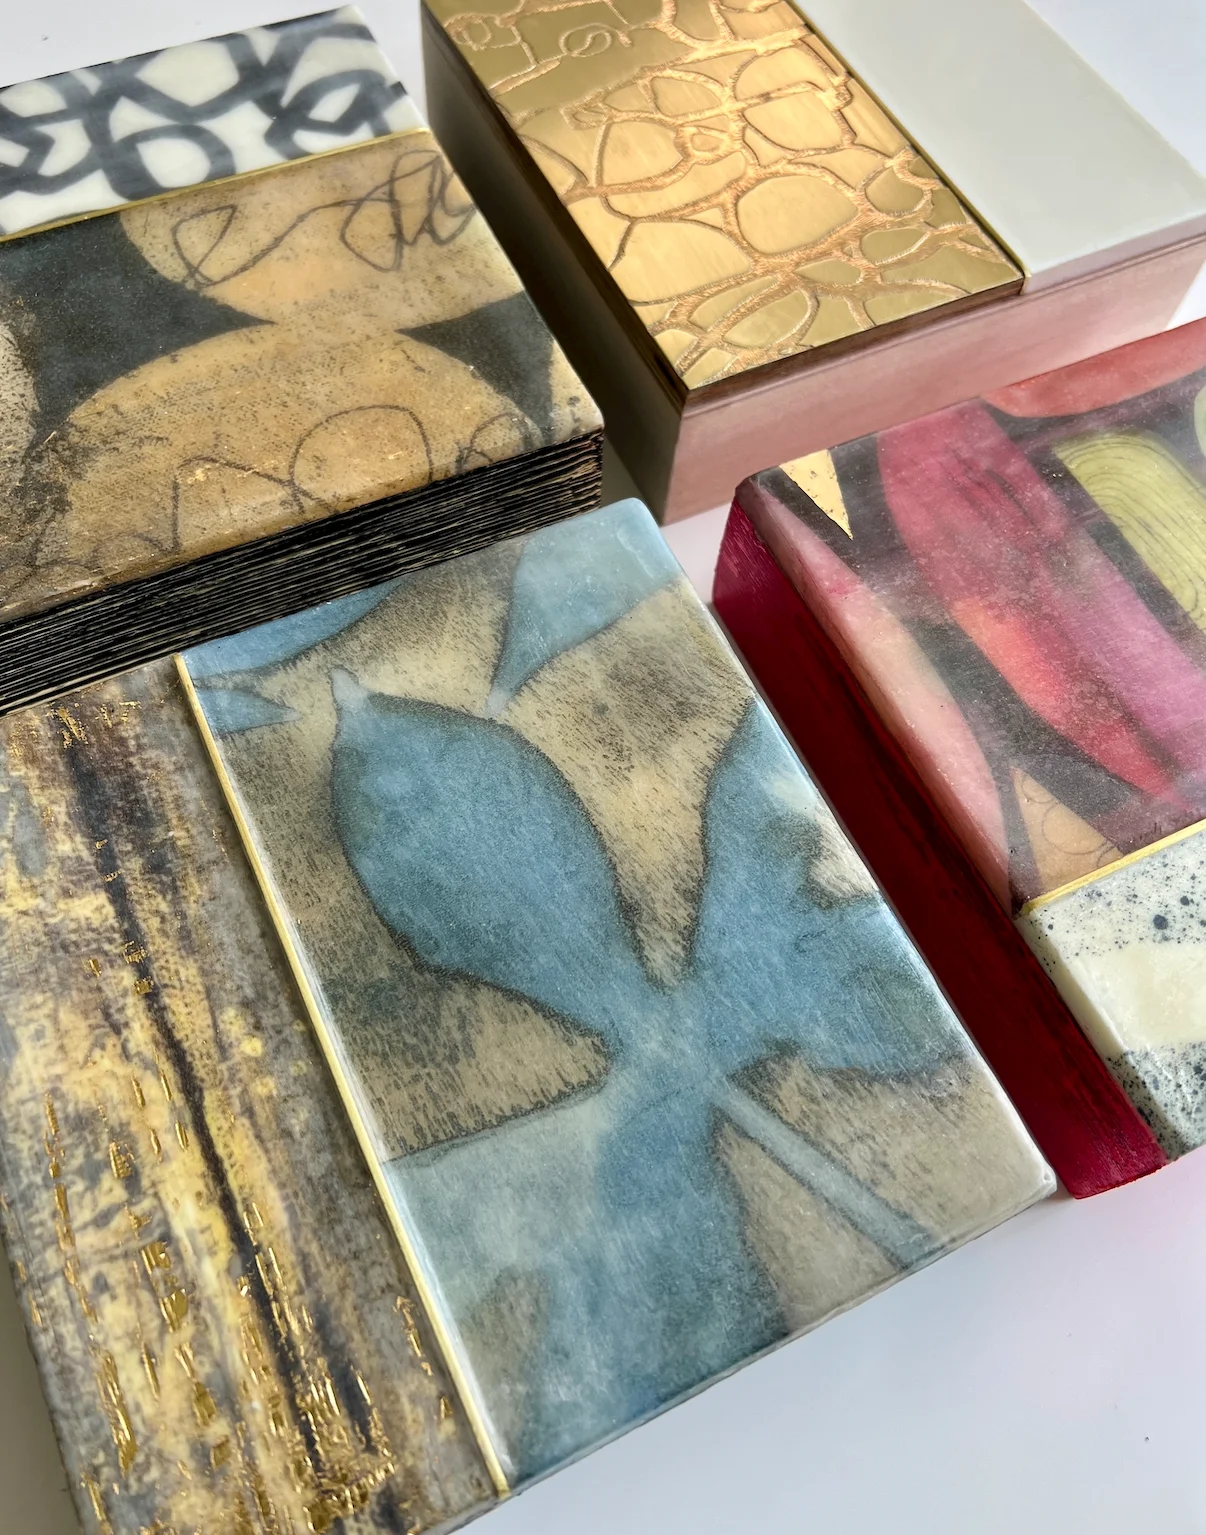
Tips for getting started with encaustic minis
Keep your panels small to start. 6"x6" is a great size because it's manageable and forgiving. Mistakes are less heartbreaking on a small panel!
Let the wax cool between layers. Rushing this process is where most people get into trouble. Give each layer time to firm up before adding the next.
Have fun with your image choices. Don't limit yourself to photographs — text, botanical prints, your own sketches — anything that means something to you can be embedded.
Until next time, stay creative.
xo Jane.