This week has been super hot and I'm fairly certain we've hit record-breaking temperatures for the month of June.
I'm not sure where you're located but it's unusual for Toronto, this time of year.
The heat has inspired me to create with it in my artwork, or at least paper textures to add to it.
Last week I shared a fun way to use PELLON Wonder-Under and I was thrilled to receive some fabulous replies. My heartfelt thanks to those who shared ideas using other heat tools!
This week I've decided to delve deeper into the theme, exploring 2 other intriguing materials that require heat for unique results.
Let's start with foam stamping. This process is super easy, effective and fun!
You can find heat stamp foam on Amazon. Just type 'foam for heat stamping' in the search bar.
I purchased some gray blocks and a few of them had cut-out shapes already in them, which was cool.
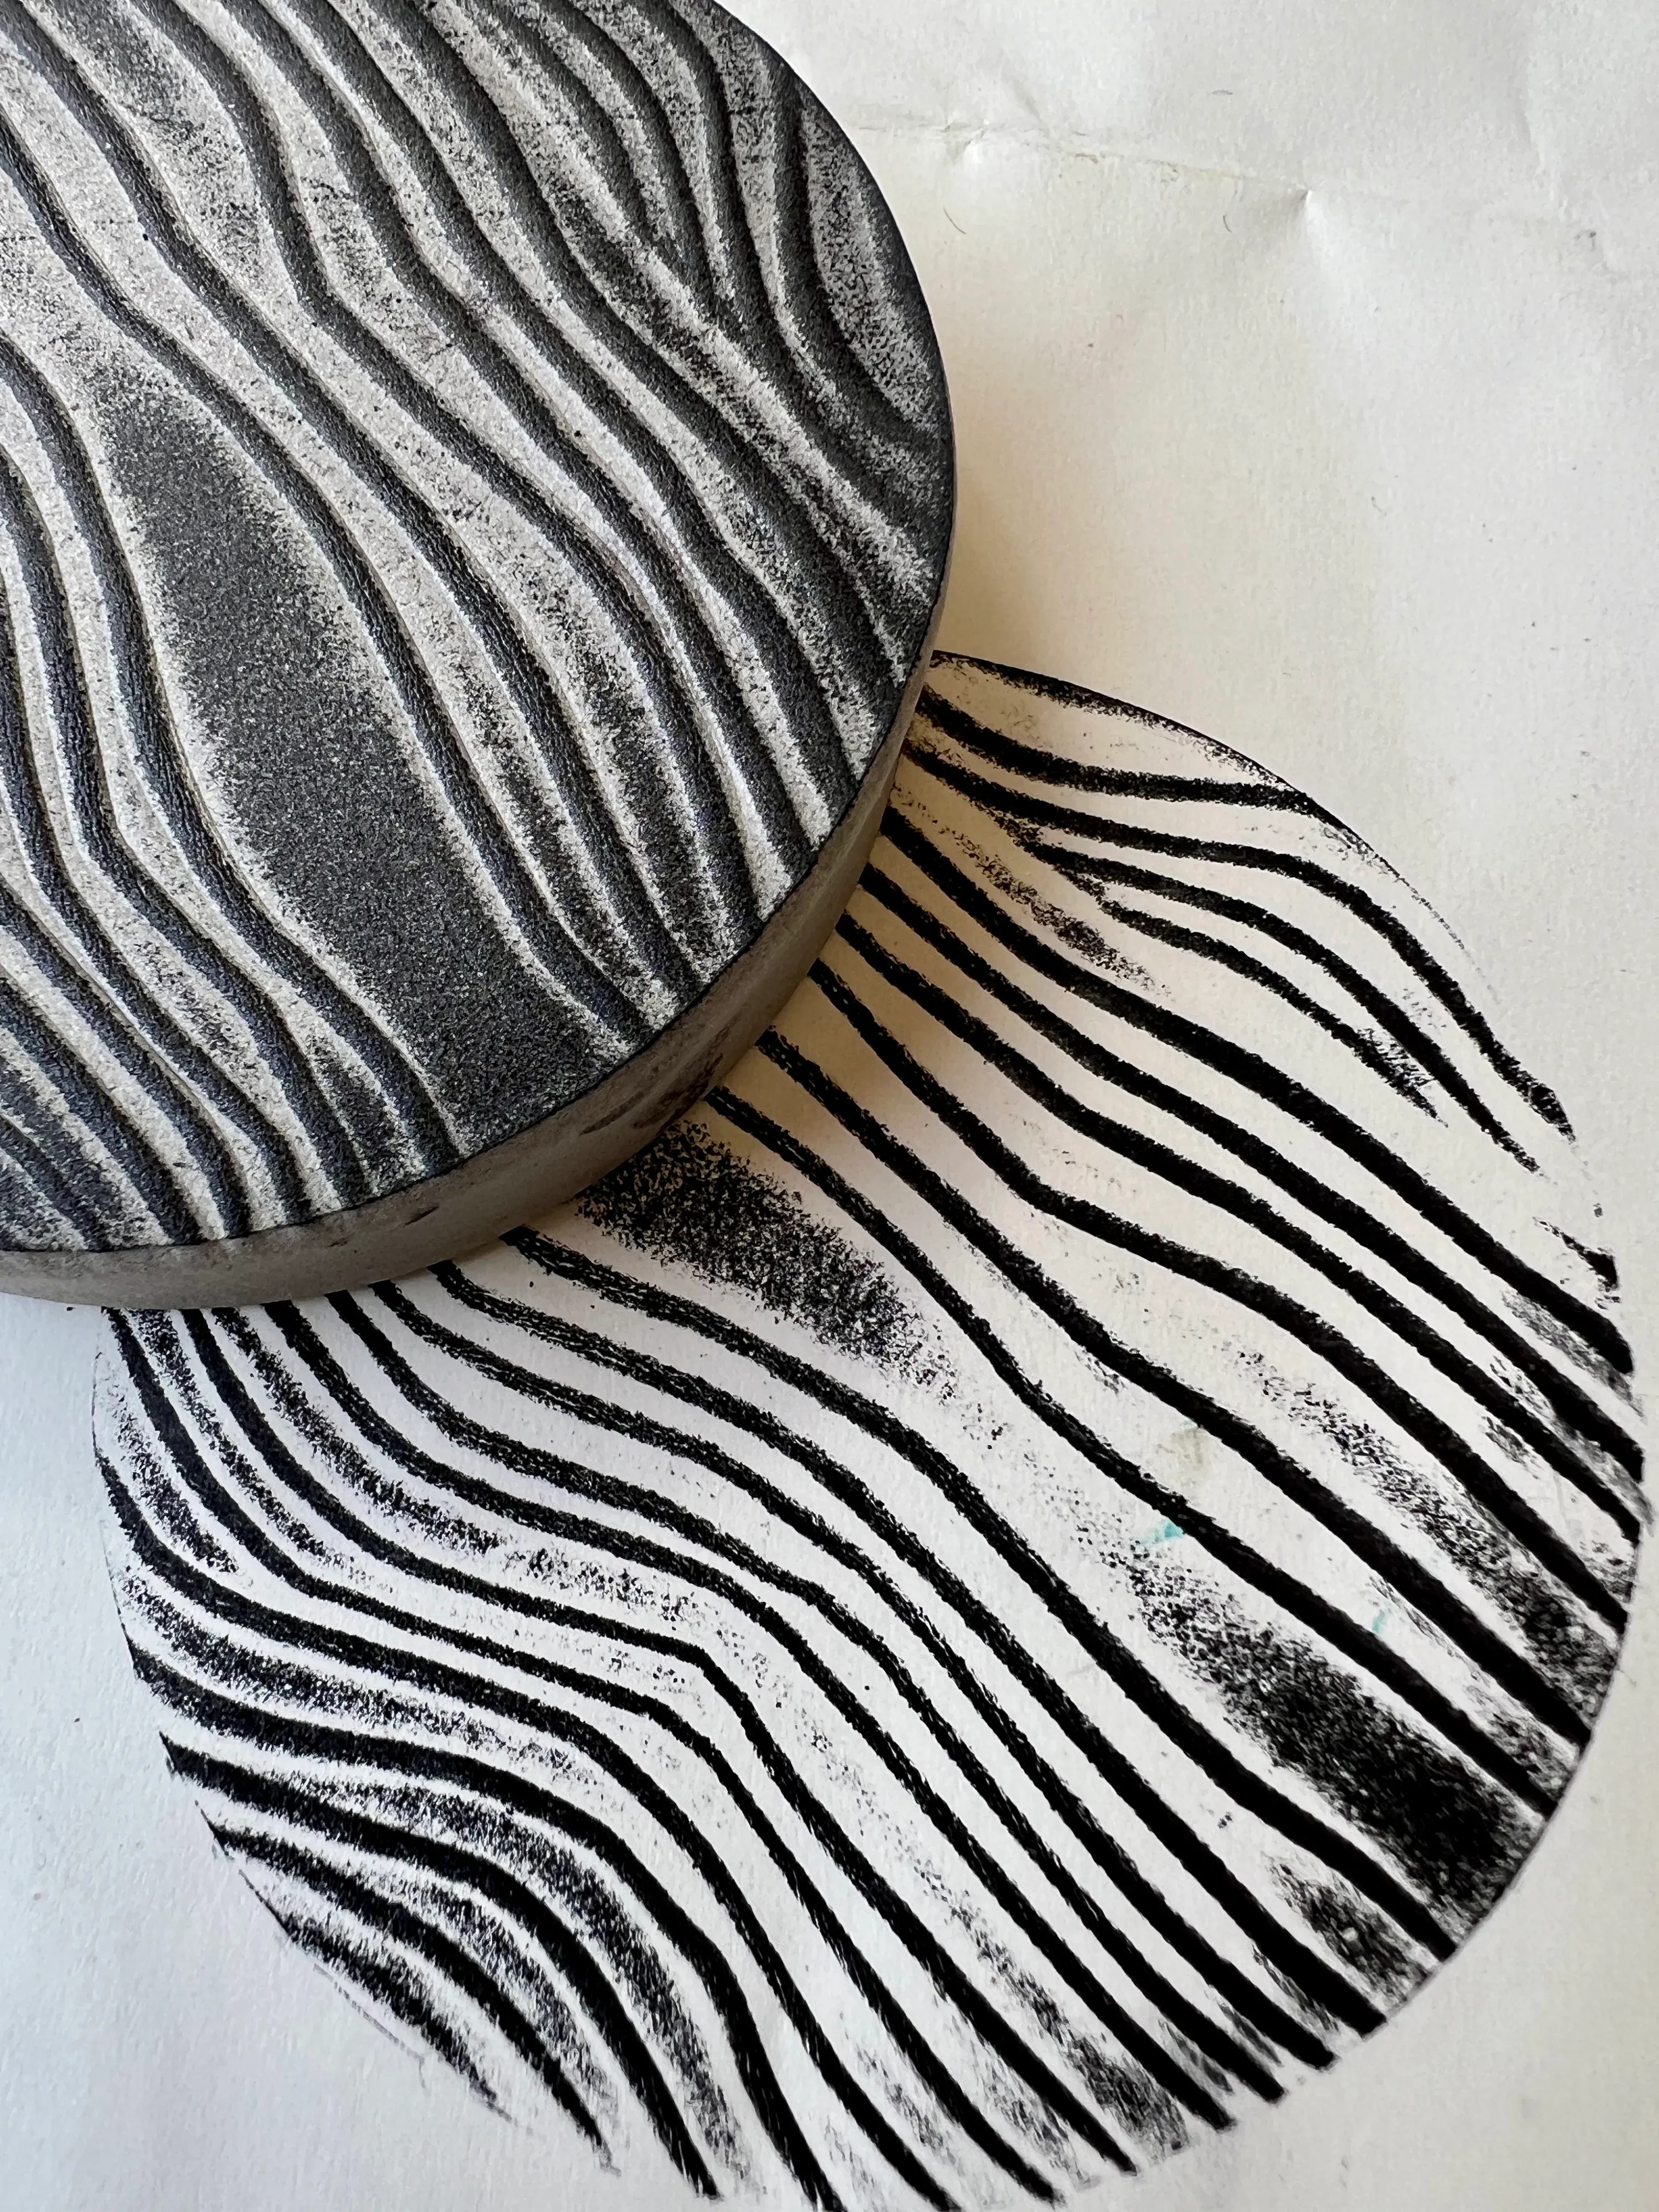
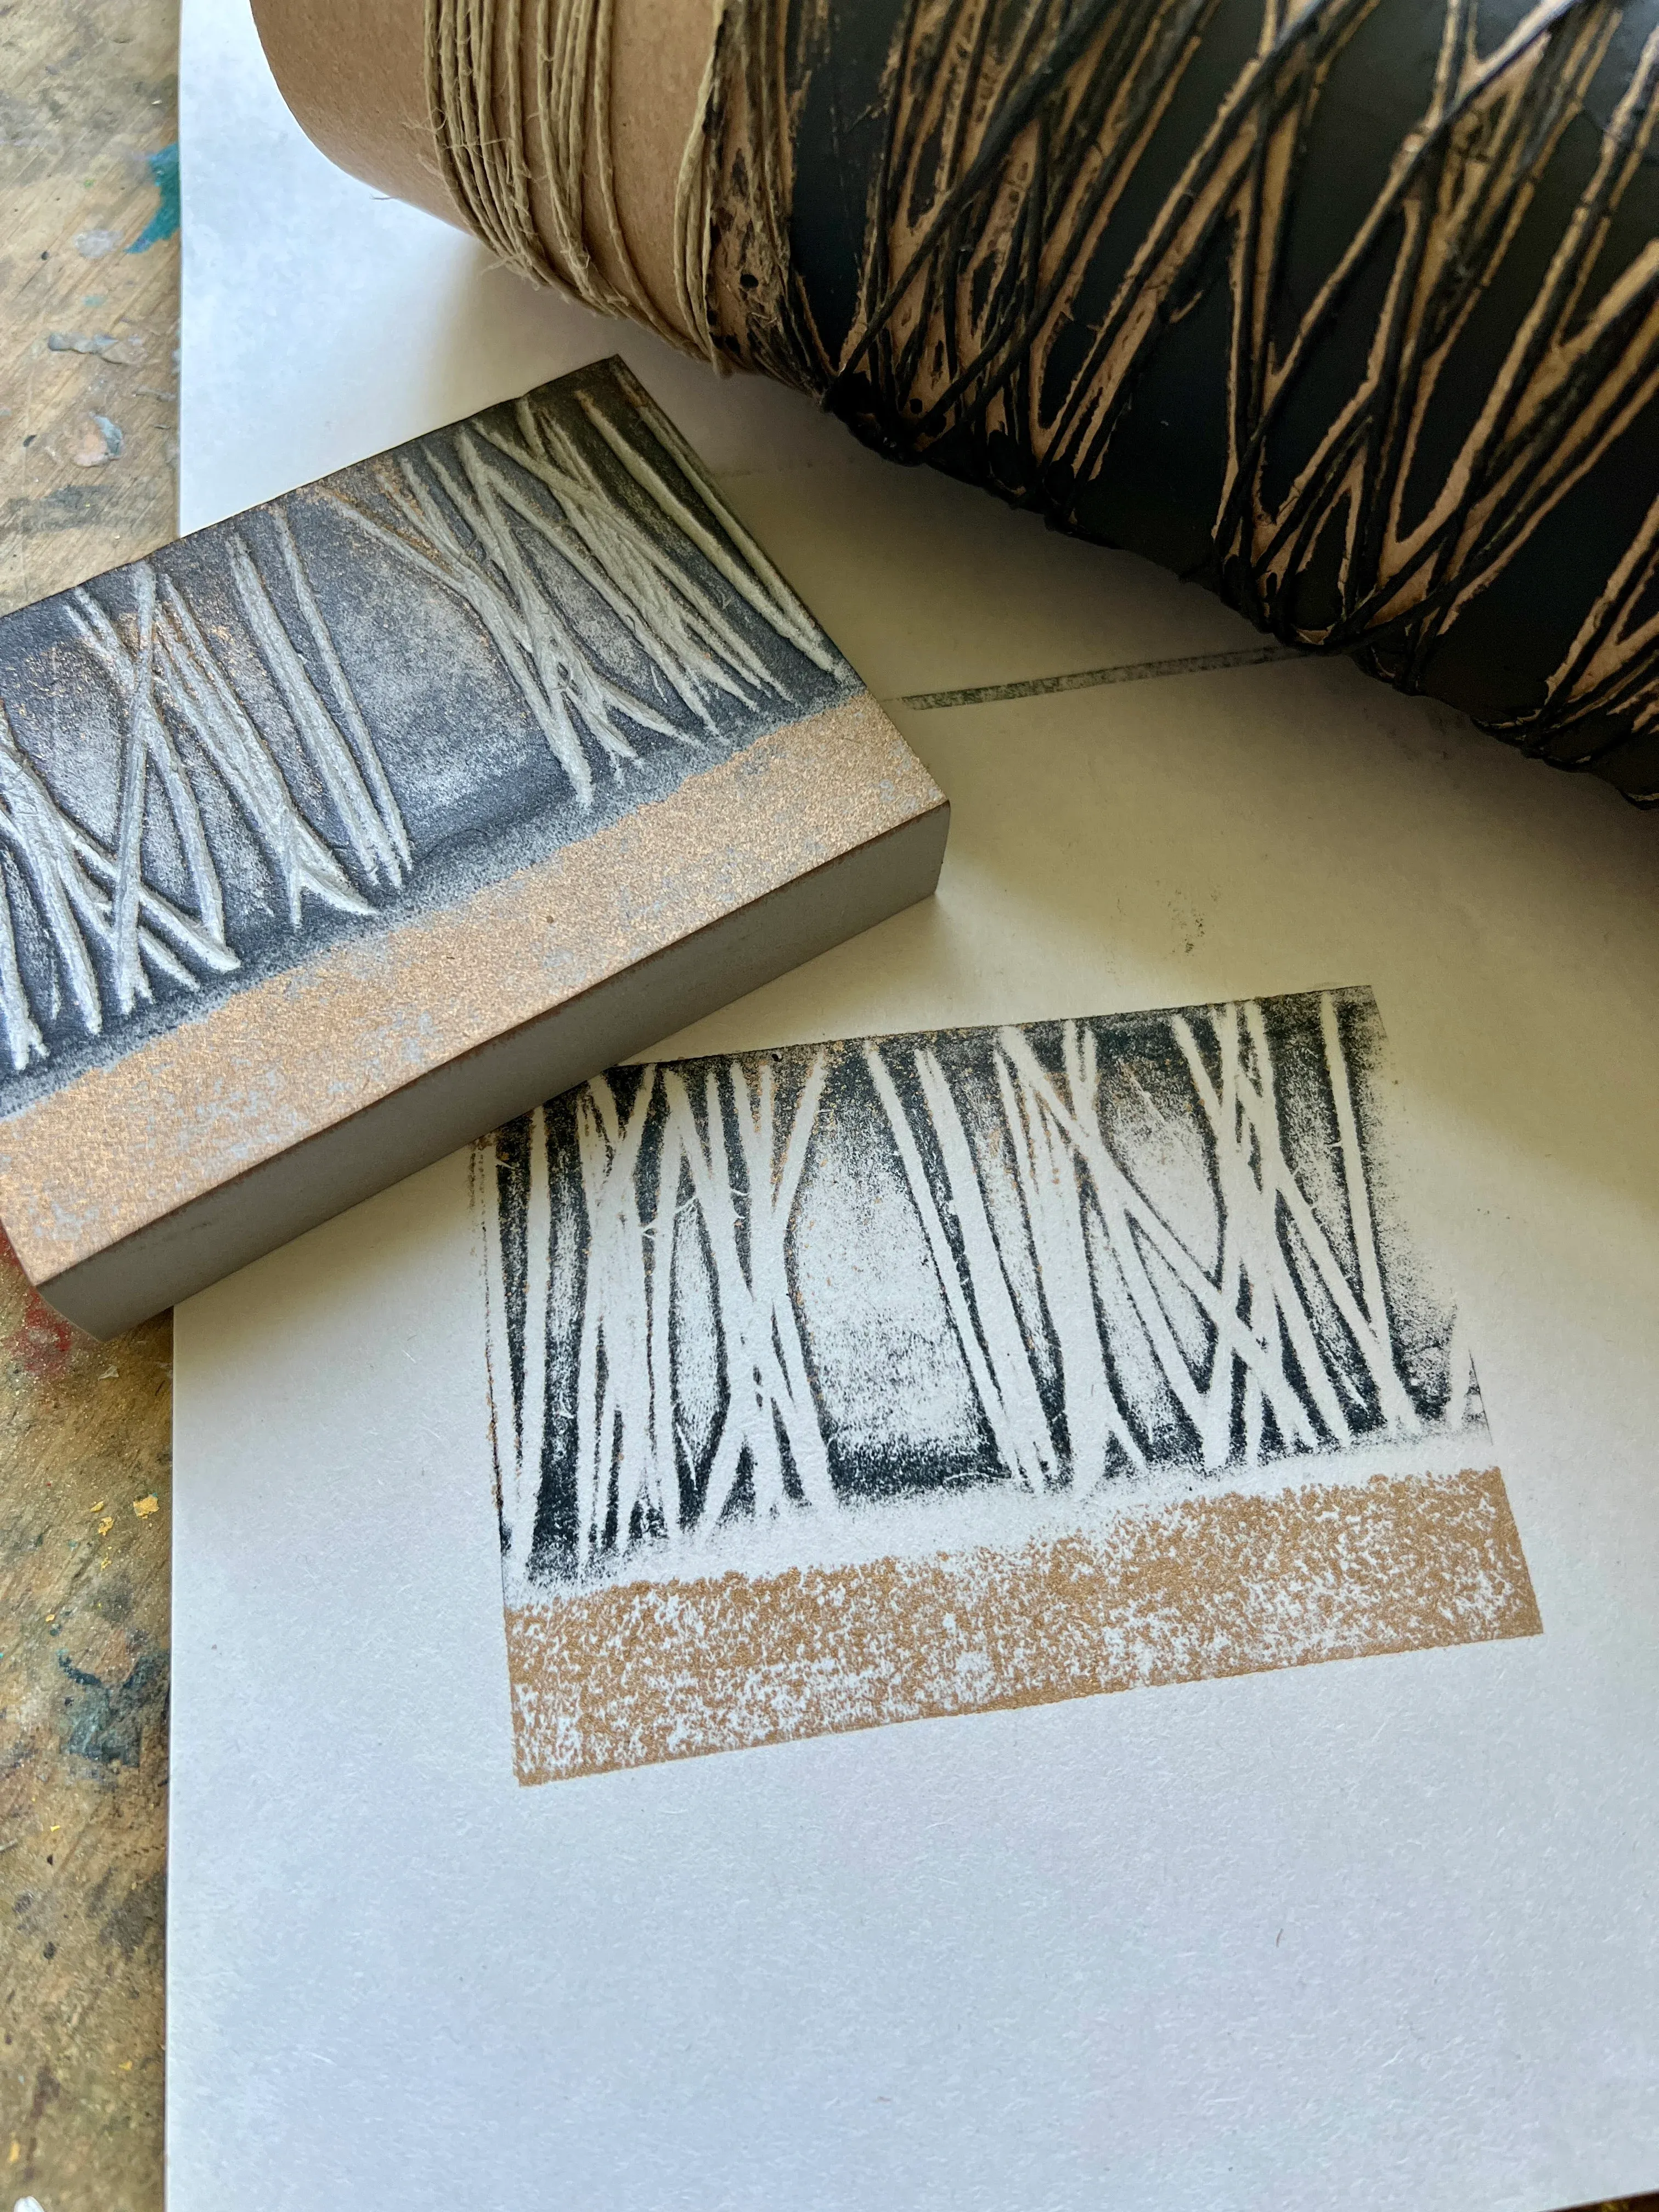
In these images, you can see I've imprinted lines into the foam block to stamp the design on paper.
The round stamp was created using an old pink rubber carving block (Speedball) design, which I pressed into the foam.
Essentially, you heat up the foam with a heat gun, or embossing tool, so you can depress objects into it before inking it up and printing with it.
The design will remain in the foam so you can keep reusing it. If you reheat it, the foam will return to a flat block and you can start over with something new. Cool, right?
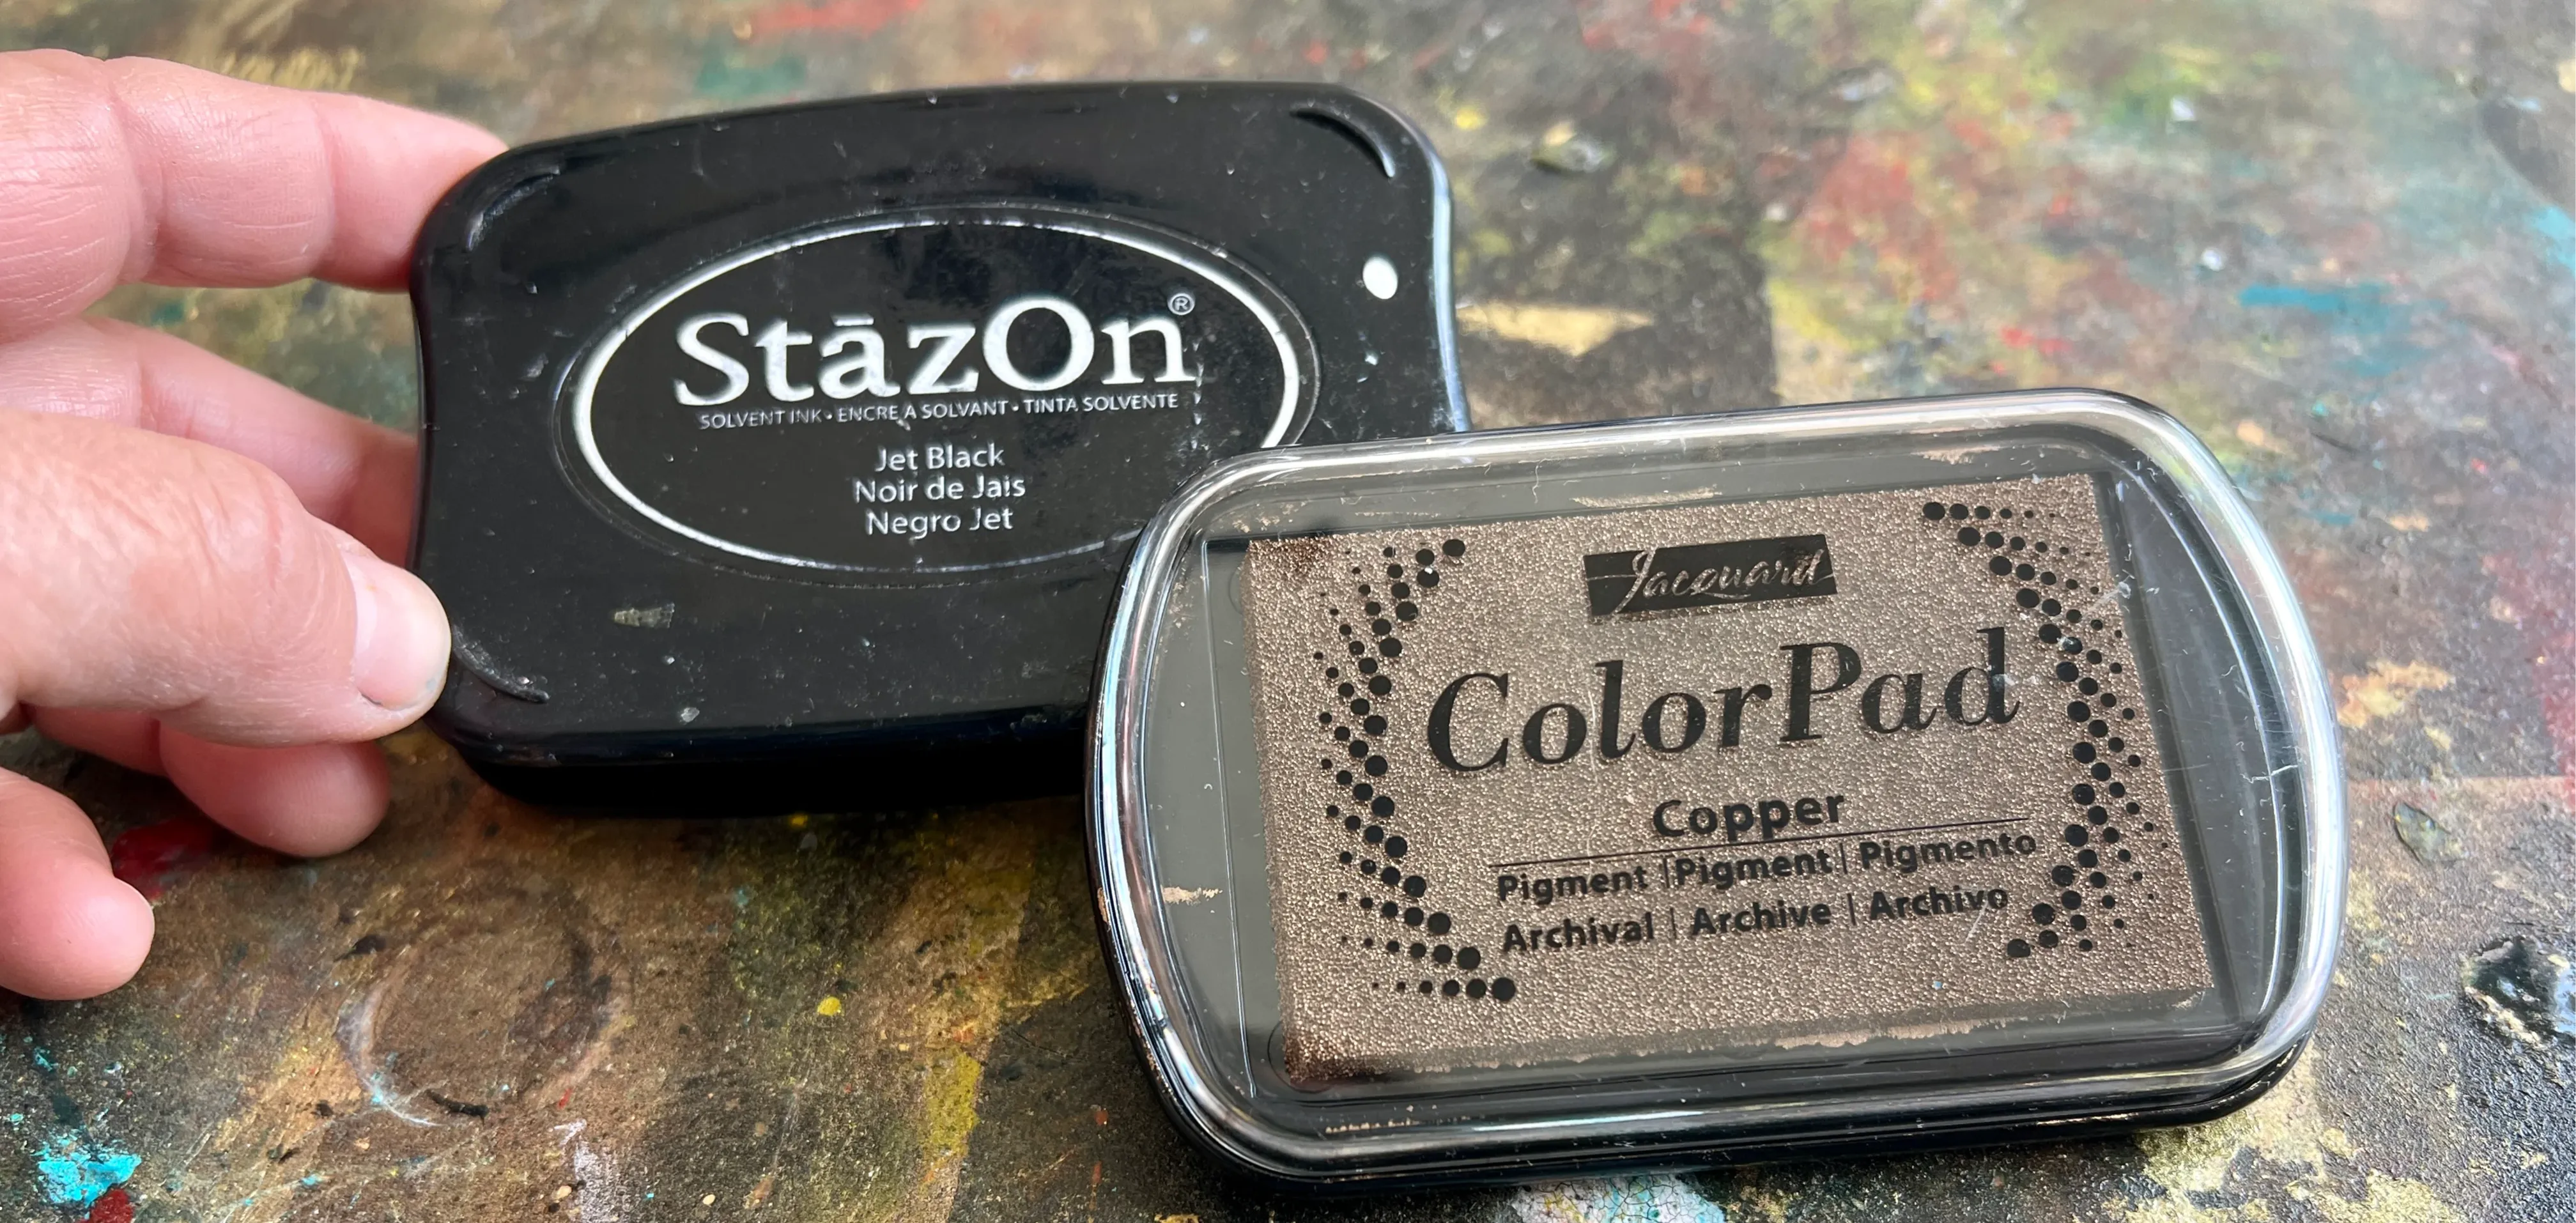
For the inking of the foam, I used a StāzOn ink pad in Jet Black. I also used the square foam block and depressed a handmade string roll into it. It, too, was inked up with black ink and some copper by Jaquard.
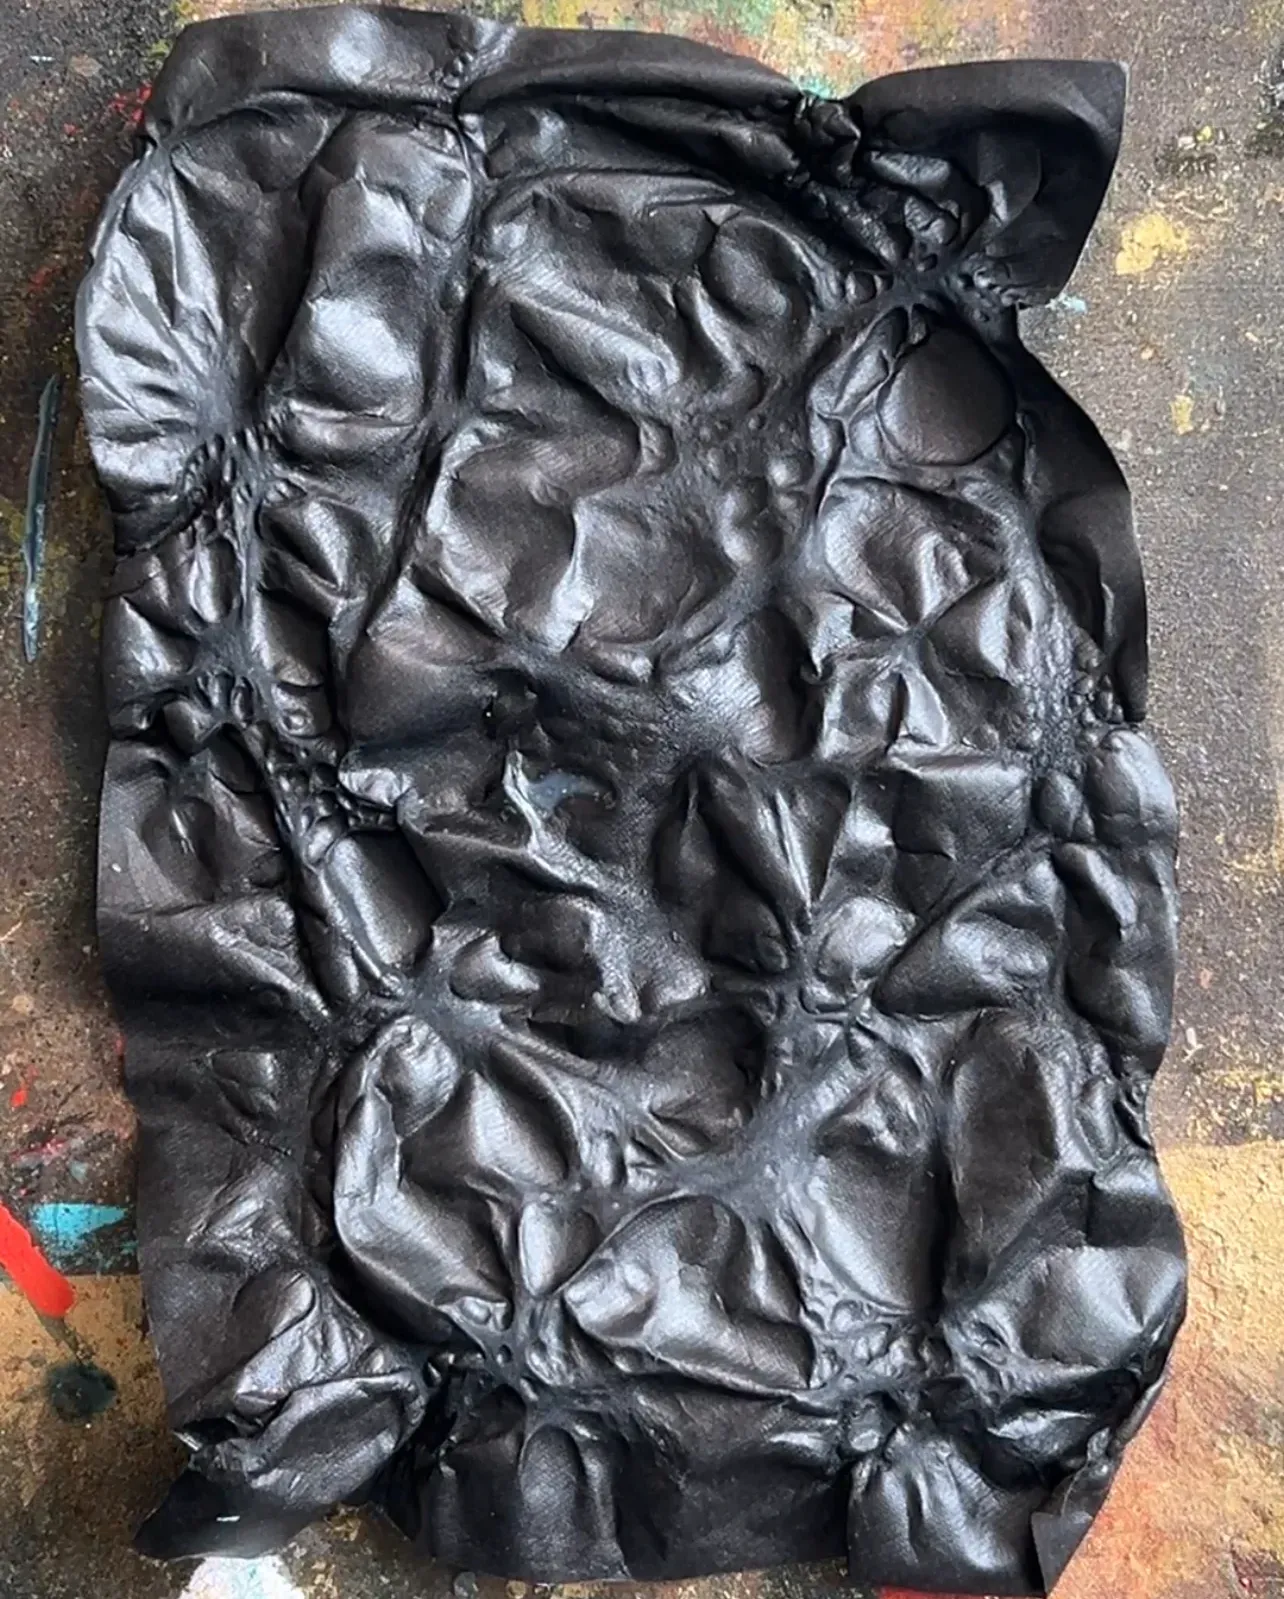
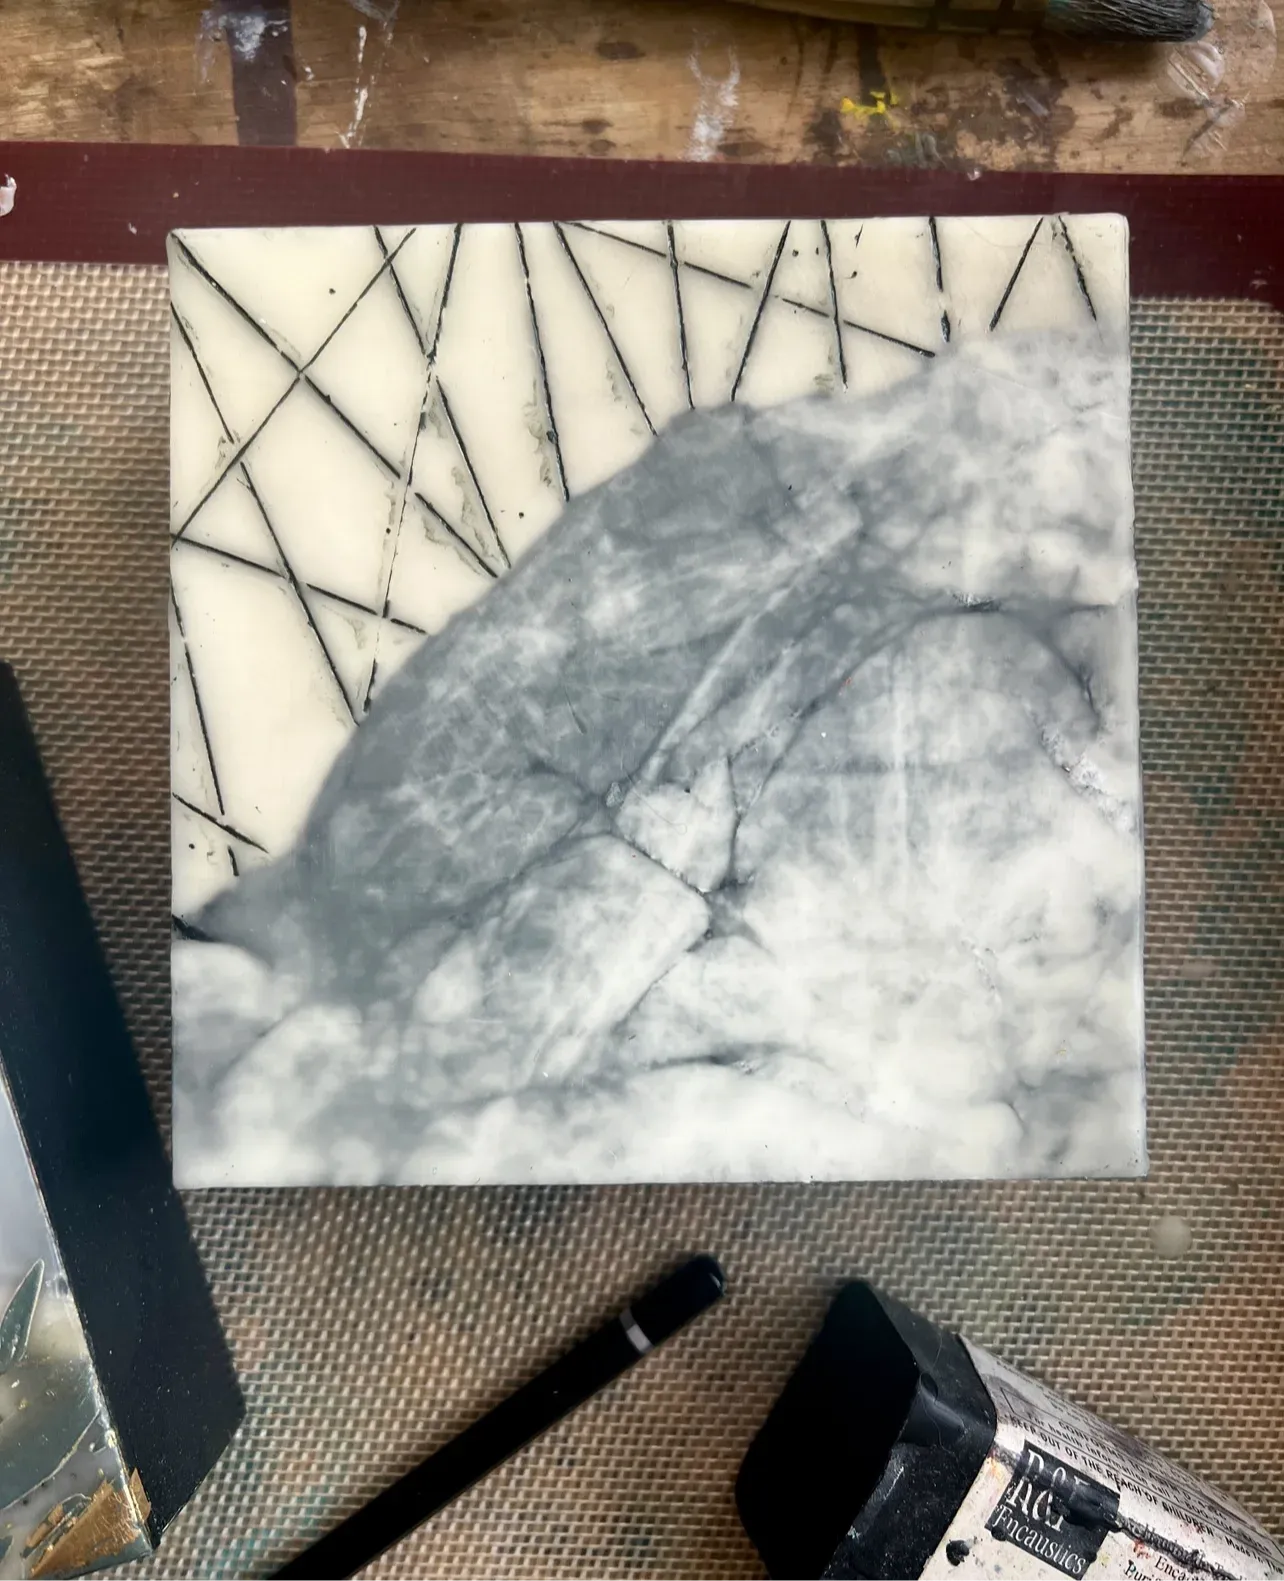
Alright, let's move on to the second heat method. This time it's on a black material called Tyvek.
I first saw this being used several years ago (I honestly can't remember by who) but, it was when I purchased Essence of Mulrannys - Paint with Fire. This is a year-long course dedicated to Encaustic that features tutorials from different artists.
I created an encaustic art piece with black Tyvek under the surface in the example below. It reminds me of mountains. Totally unintentional but I like it.
You can find white Tyvek quite easily, but black is harder to source. I got mine in roll format from ULINE.
I'll add the link HERE, if you want to check it out - keep in mind this is the Canadian site, but it's the same on the U.S. one.
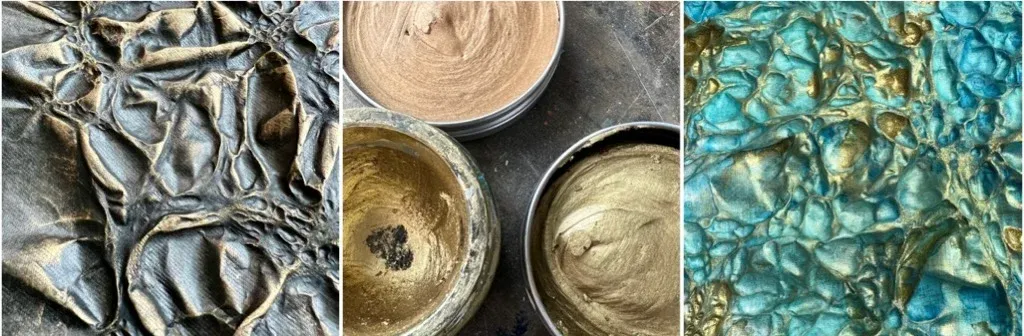
Because it's plastic, you can apply heat to manipulate it without burning. (I suggest wearing a mask in a well ventilated area. Or work outside)
You can create some really cool effects with it. How much heat you apply will result in different effects. You can then add products to add texture and colour.
I use gilding wax and alcohol inks for colour. But you can use whatever you like.
Shown here: Gilders Paste on the black Tyvek, and Teal with Pinãta Rich Gold alcohol inks, by Jaquard, on the white.
You can weigh down or iron over the pattern (prior to adding products) to flatten it before cutting it up and using in your artwork.
I use resin as a finish so this helps with keeping substrates in place. However, it's still important to use the right adhesives to prevent lifting.
Alright my friend, that's a wrap on this weeks issue. I hope you found it inspiring.
Feel free to reply any time with your thoughts about my newsletter, and, anything else you'd like to learn :)
See you next week. Same place. Same time.
xo Jane.
P.S. I don't know what I'll be writing about next week, so it'll be a surprise. lol
Standard Newbie Message: If you're new to my community (within the last day or two, you'll receive a handful of emails over the next few days. This is due to my welcoming you to my world and excitedly forcing you to get to know me:) After that, it's just once a week. Promise!